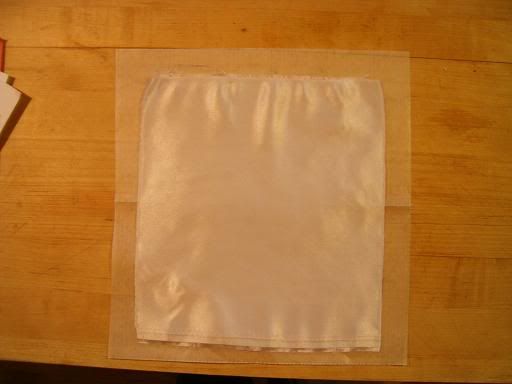
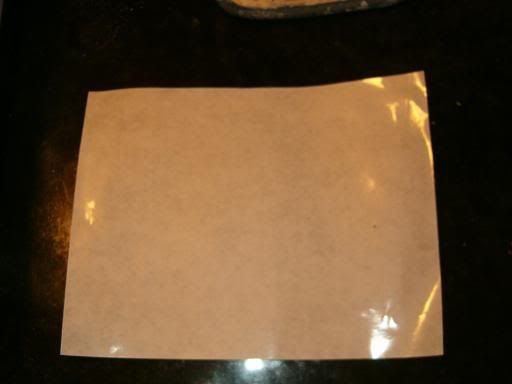
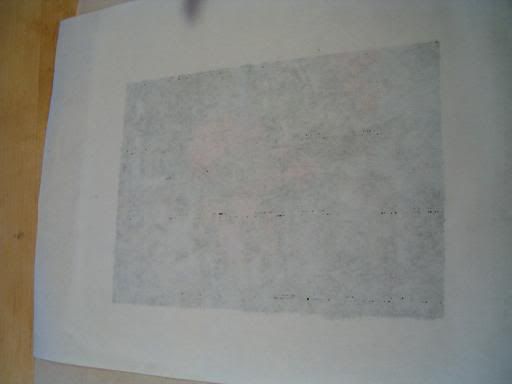
Start with a piece of fabric or paper to which you wish to apply the transfer
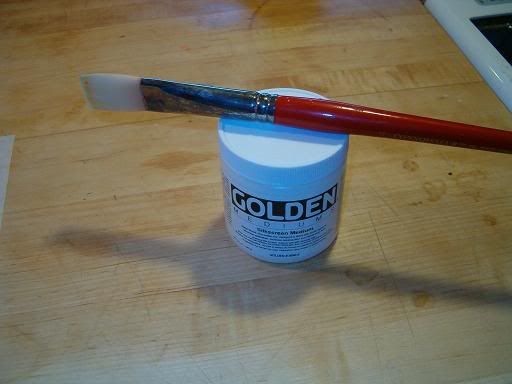
Also you need some form of acrylic medium, freezer paper cut to size ( I usually cut them to 8 1/2 X 11 " ) a protected surface, printer, image you wish to transfer, and paintbrush
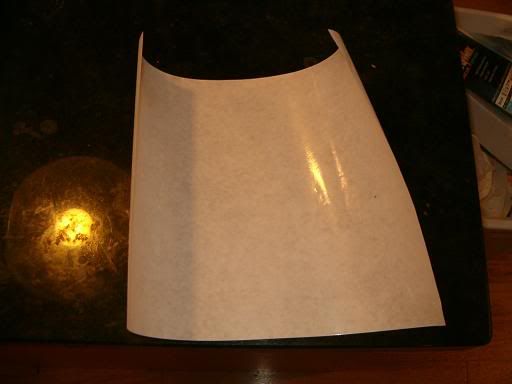
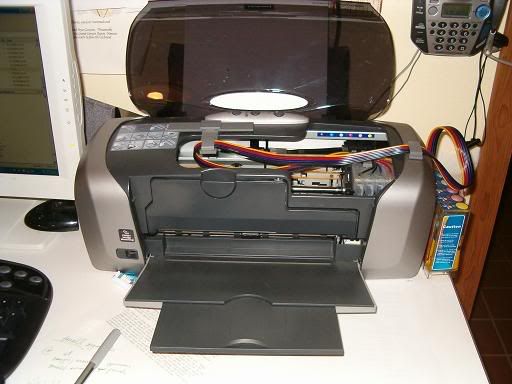
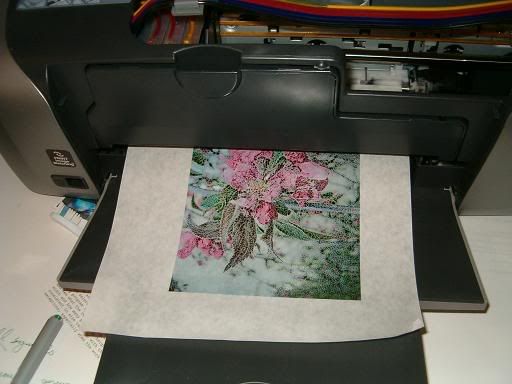
I take the freezer paper and rub the back side against the edge of my counter to take the curve out and then start the feeding processs in to the printer so that when I am ready to print the paper in already to go
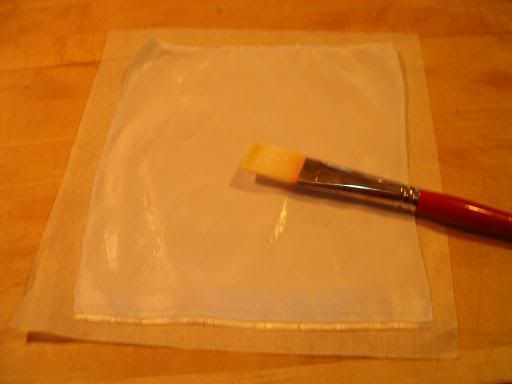
Choose your image and print on "inkjet transparency" setting and apply the acrylic mediun while the image is printing...you need only a thin film to cover
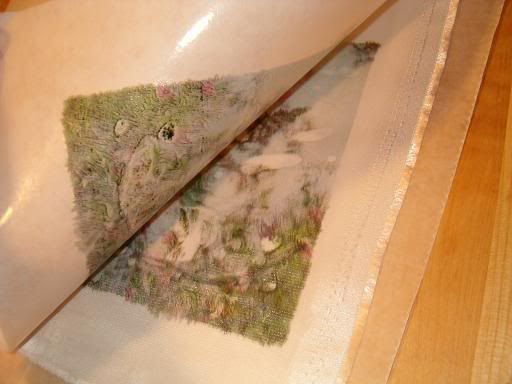
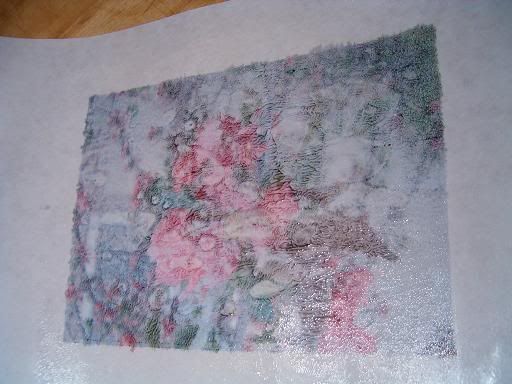
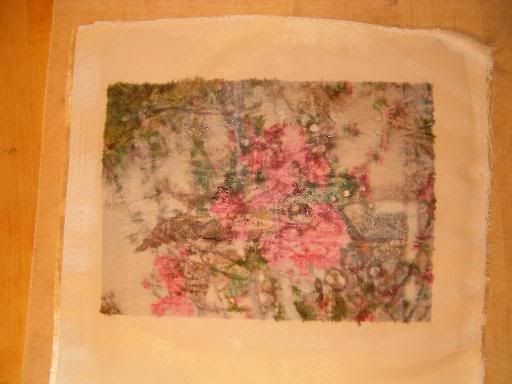
turn the wet image over on the wet medium and press lightly
check the coverage by pulling up a corner
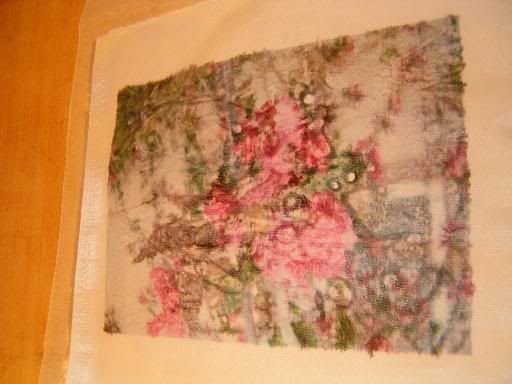
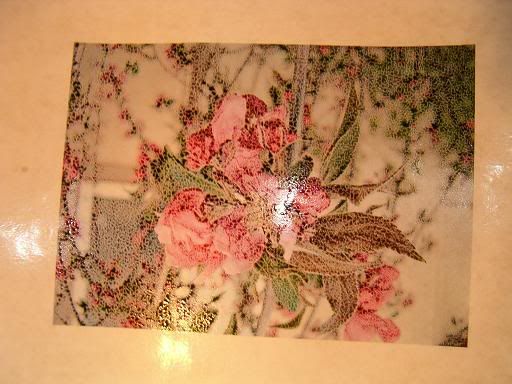
the finished image and the detail below
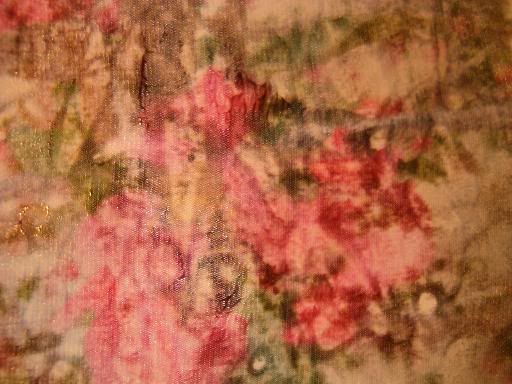
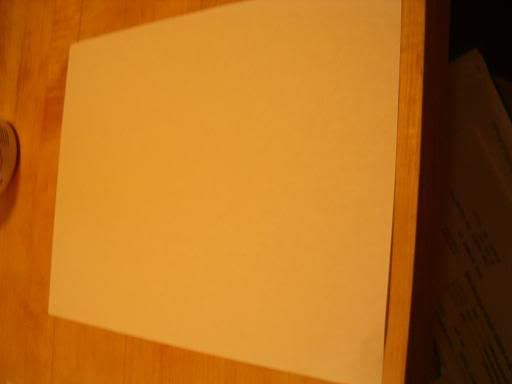
and a second printing to paper as well from the same piece of freezer paper
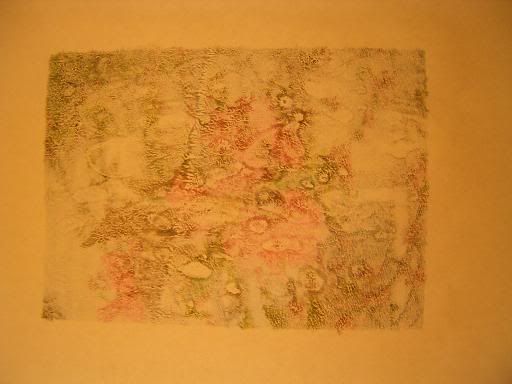
completed image
Also you need some form of acrylic medium, freezer paper cut to size ( I usually cut them to 8 1/2 X 11 " ) a protected surface, printer, image you wish to transfer, and paintbrush
I take the freezer paper and rub the back side against the edge of my counter to take the curve out and then start the feeding processs in to the printer so that when I am ready to print the paper in already to go
Choose your image and print on "inkjet transparency" setting and apply the acrylic mediun while the image is printing...you need only a thin film to cover
turn the wet image over on the wet medium and press lightly
check the coverage by pulling up a corner
the finished image and the detail below
and a second printing to paper as well from the same piece of freezer paper
completed image
2 comments:
Great tutorial. I can't wait to give it a try myself!!
This is so cool. I must try it.
Post a Comment